
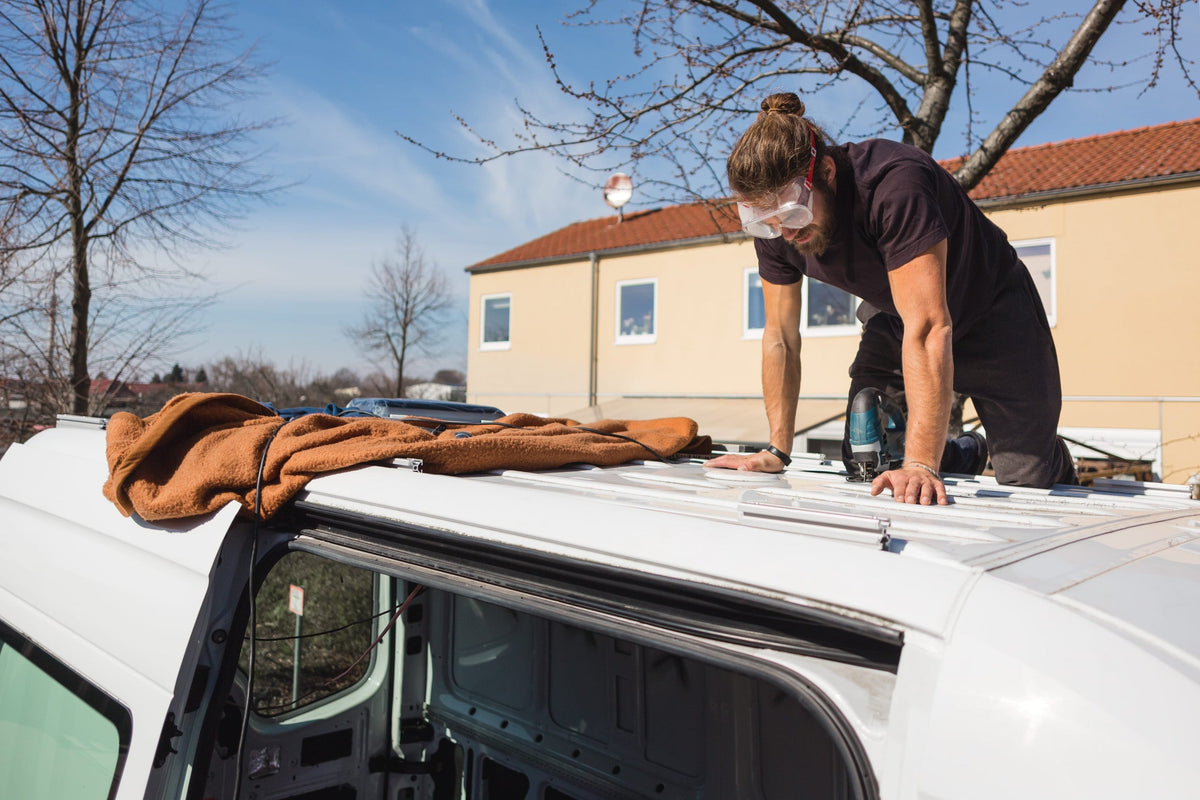
The roof on your Sprinter offers valuable real estate that largely goes underused. Adding a roof rack can turn that blank slate into valuable space for solar panels, storage boxes, recovery equipment, awnings, and other accessories. A well-designed setup can expand your van’s capabilities, so your rooftop space doesn’t remain an afterthought. The key is understanding how rooftop weight affects the van and how the rack, accessories, and cargo work together as one system. Careful planning can improve storage, access, and day-to-day usability while supporting better weight distribution and handling. This guide explains how to plan a Sprinter roof rack setup around the gear you carry, the way you use your van, and the upgrades you may add in the future.
Understand the Total Roof Load
The rack itself is a small part of the total roof load. That calculation needs to include the rack structure, solar panels, mounting hardware, storage boxes, ladders, recovery equipment, awnings, vents, fans, wiring, and any accessories you want to add in the future. Before you add equipment to your roof, check your Sprinter’s roof load specifications and the load ratings for the rack. Stick to the lower applicable limit as much as you can.
Keep in mind that weight distribution matters almost as much as the total weight of the load. Concentrating heavy items in one section of the roof creates an uneven load. Whenever you can, position equipment so the overall load is balanced from side to side and distributed across the rack’s mounting points.
Plan Solar Panels First
If you’re putting solar panels on your roof, plan out their position first. They take up the largest space on your roof and are likely to remain in place regardless of what other gear you haul on your roof. This makes them a good starting point for your roof rack layout. Get the panels’ dimensions, determine their mounting orientation, and work out the wiring route before you position any other equipment.
Reserve Space for Storage and Recovery Gear
Roof-mounted storage is useful for bulky equipment that doesn’t need to be inside the van. You can mount storage boxes to your roof rack to haul gear that can’t be strapped directly to the rack. Where you store them should depend on both their weight and how often you use them.
Store frequently accessed gear where you can reach it without moving several other items. Storing those items close to a ladder can make a big difference in your ability to access and use that gear regularly. Heavy equipment should generally get extra consideration for weight distribution, and you may need to sacrifice a little convenience to keep things evenly distributed across the rooftop.
Your recovery gear deserves deliberate placement too. The last thing you want is to have to reach an inaccessible roof box and dig through it to find your recovery gear when your vehicle gets stuck. If you can’t keep this kind of gear close at hand on the rooftop, consider keeping it inside the van or in another lower-access exterior storage box.
Choose Ladder Location Based on Roof Setup
A ladder is one of the best access accessories for a roof rack, but its location can determine how effectively the roof rack itself works. Rear-door ladder placement can keep the sides of your van clear while giving natural access to the rack. Side-mounted ladders can be useful for reaching specific gear stowed along the side of the rack that you need regularly.
Make sure your ladder position doesn’t interfere with doors, lights, cameras, or other equipment. Its position should also align with those areas of the rack that you need regular access to. A walkable section of the rack can improve usability even more, as it lets you get up on the rooftop and move around freely to reach objects. However, it does reduce usable storage space.
Account for Vents, Fans, and Air Conditioning
It’s incredibly important that your roof vents have the necessary clearance, even after your roof rack is loaded. Fans and vents need enough space to operate, and shouldn’t be blocked by solar panels, storage boxes, or other items. Air-conditioning units require even more planning, because you need to maintain accessibility for service and maintenance, while also accounting for airflow.
Map out every existing roof penetration before you install your roof rack. Mark the locations of vents, fans, antennas, wiring entries, and HVAC equipment. Then, identify the usable rack area instead of just assuming your entire roof qualifies as usable space.
Consider Future Upgrades from the Start
A good roof rack design accounts for equipment that you might add later. For example, you might want to add an extra solar panel, upgrade to a larger storage box, add an awning, or otherwise upgrade that rooftop space. Leave sufficient mounting and access areas where future add-ons are likely. Avoid installing more accessories just because you have unused roof space. Every additional component adds weight, takes up mounting space, and can add maintenance requirements. Only add accessories that fit your lifestyle and are practical and useful for how you use your Sprinter.
Create a Roof that Works as a System
The best Sprinter roof rack setup uses available roof space efficiently while accounting for weight distribution, gear access, routine maintenance, and future upgrades. A well-planned layout helps improve storage, usability, and long-term function without overloading the roof or limiting access to mounted equipment. A properly planned roof rack improves storage, access, and daily usefulness without overcrowding your roof. By treating your solar, cargo, and other Mercedes Sprinter accessories as part of one integrated system, you can create a complete roof rack design for your lifestyle and get even more out of your Sprinter.